 Capturing a screenshot isn’t a tough task for anyone. From capturing the entire screen of the device to select a certain corner, you can capture anything you want on your smartphone and PC. The great thing about taking a screenshot is that you can edit it as you want and save it on your PC. In Windows 10, there are plenty of ways to capture and edit a screenshot. The in-built Snipe & Sketch tool in Windows 10 allows you to screenshots.
Apart from Snipe & Sketch, there are plenty of tools for screenshot tools you can choose to capture and edit screenshots on Windows 10. So, here are the easiest ways to capture and edit screenshots on your Windows 10. Snip & Sketch For editing and sharing screenshots, Snip & Sketch is the most reliable and easiest tool. This tool can even capture screenshots of your desktop’s screen. To launch Snip & Sketch, you can press the Windows key + Shift + S button on your keyboard, or type its name in the search bar under the Start menu. Once you find the app in your system, just add it on desktop or taskbar as a shortcut to launch it quickly. Launching Snipe & Sketch through the shortcut or Start menu will open in the full window instead of a small notification panel. In the main tab of the Snip & Sketch app, press the New option to capture a certain area of the screen and edit it as you want without any further delay. Snipping Tool Snipping Tool is available in the Windows system from Windows Vista, but after the launch of Windows 10, a lot of users have moved to the Snip & Sketch tool. You can’t find the Snipping Tool in the Start menu list, but if you really want to access it, then just search for it in the search bar. Press New option in the Snipping Tool, to capture a screenshot. Right after taking a screenshot, you have to save it manually because the tool doesn’t save automatically. Game Bar Game bar is also a great way to capture screenshots, even if you’re playing a game. Press the Windows key + G button to bring the Game bar on the display. Press down the screenshot button to capture a screenshot or simply press Windows Key + Alt + PrtScn keys together. You can also set a keyboard shortcut for taking shortcuts using the Game bar by moving into Settings>Gaming>Game bar. Print Screen To take a screenshot of your current screen, just press the Print Screen (PrtScn). Pressing the PrtScn won’t automatically save the screenshot in your PC, but it will get copied in the clipboard. You will have to open a photo editing tool such as Microsoft Paint to save your screen as a file. Move into the Settings>Ease of Access>Keyboard and turn on Use the PrtScn button to open screen snipping to open your PrtScn screenshot in the Snip & Sketch tool. Alt + Print Screen In order to take a screenshot of your opened window quickly, press Alt + PrtScn button on your keyboard. It will copy the screenshot in the clipboard, and you need to open a photo editor tool to save the screenshot file. Windows Key + Print Screen To take a screenshot of full screen, press Windows key + Print Screen key. Just after pressing the shortcut command, you can check the screenshot in the Pictures>Screenshots folder. Conclusion All these procedures for taking screenshots are pretty simple. In Windows 10, users have two tools and a couple of shortcut commands for taking screenshots. A screenshot taken by a tool will appear in the file section, but to paste the screenshot in a message section or photo editor, users should try out the shortcut commands. I’m Edward Lewis. I’m an art director living in 737 Northcrest Shopping Center, Fort Wayne, IN 46805, United States. I am a fan of photography, technology, and design. ij.start.canon, I’m also Online Marketing Expert with 3 years of extensive and rich experience of Marketing through Social Networking Platforms. Source : https://setupijcanon.com/blog/6-ways-to-take-screenshot-in-windows-10/
0 Comments
If you think your Windows 10 computer is running slow, you should check your apps and their storage usage. Indeed, Windows 10 optimizes apps and releases unnecessary memory to make the system run smoothly. But sometimes, things don’t go smoothly as they should be, and RAM gets exhausted. So in this condition, you have to work on memory release by checking all installed apps that could be the reason for the problem.
If you find the apps you’re using excessive memory, you can check it through the Resource Monitor tool and Task Manager and manage the app memory usage and release where it’s necessary. So if you’re struggling with slow system speed and slow running apps, here’s how you can check app memory usage on Windows 10. Check App Memory Usage through Task Manager Follow the steps to check app memory usage:
Check App Memory Usage through Resource Monitor Follow the steps to check the apps that are consuming the highest RAM:
Ending an app’s Task will close the app without letting you save the project or work you’re working on. However, if you don’t prefer to open Task Bar or Resource Monitor, you can just restart your computer or reset the whole app to fix the issue. Whatever you’ll try, you won’t find an ideal way to save your data. Restarting the computer will close every app on your computer, but if you only wish to close only a single app, you should End Task of the particular app on Task Manager or Resource Monitor. In case your system is not working, you should restart your computer. It will release the RAM and will make the system run smoothly once all the apps are closed and not working. Conclusion Microsoft launches major updates after every three or six months, but bug removal and fixes updates usually arrive every week. So if any user has tried every possible way to run the system smoothly and still the problem is the same, they should update the system. Update the system, remove bugs and make the installed apps and system run smoothly. I’m Edward Lewis. I’m an art director living in 737 Northcrest Shopping Center, Fort Wayne, IN 46805, United States. I am a fan of photography, technology, and design. 123.hp.com/setup, I’m also Online Marketing Expert with 3 years of extensive and rich experience of Marketing through Social Networking Platforms. Source : https://hewlettpackard123.com/blog/how-to-check-app-memory-usage-on-windows-10/ 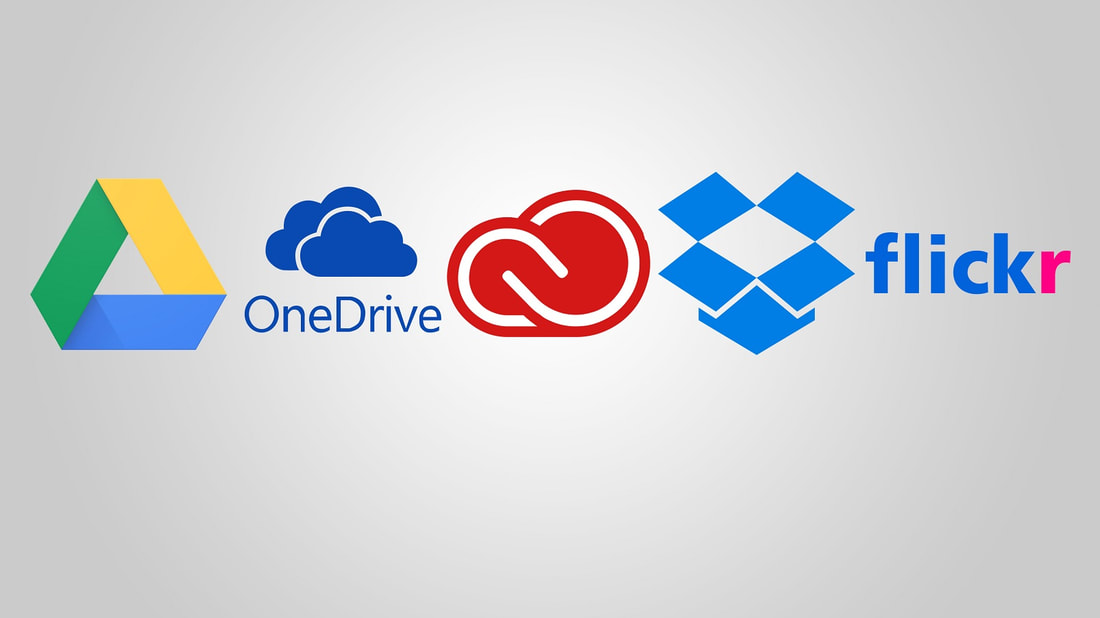 Flickr is a reliable photo management and online sharing application that allows the user to show off their captured images and videos to the world. Indeed, Flickr isn’t as popular as other social media platforms, but they changed some of their policies in 2019, which made this app more reliable. Now Flickr is offering 1TB of free storage to their users for photos and videos. People who have been using Flickr for a long time see it as the biggest positive change on the platform. However, Flickr is not the only app that offers this much free storage. Google also offers its users 15GB of free storage to upload their photos and videos in high quality. Users can get more storage by purchasing a subscription. In the 15GB of free Google Drive storage, users can store their Documents, Photos, Videos, and many more things. There are people in the world who don’t prefer using Google Photos because of privacy and security purposes and rely on other alternative services and apps. So if anyone is confused about which photo storage service is better, they should explore a little bit about the variety of apps and services like Dropbox and OneDrive. Google Photos As mentioned above, Google Photos offers free 15GB of storage to its users. After creating a Google account, users get 15GB of free storage to store their photos and videos. If any user uses the entire 15GB of Google Photos space, they can buy more. Right now the cost for an additional 100GB space is $1.99/month and $19.99/year. While the 200GB storage costs $2.99/month and $29.00/year and the highest storage of 2TB comes at $9.99/month and $99.99/year along with a VPN for Android devices. iCloud Photos iCloud Photo is a part of the Apple ecosystem. Any user that is using apple products like Mac, iPhone, or iPad can access iCloud. It is similar to Google Photos that offer specific storage to store data. iCloud can store every data of the device, and its iCloud Photo section shows those images that are uploaded in the iCloud drive. Users get 5GB of free iCloud storage and can enhance it by spending $0.99/month for 50GB. The 200GB of iCloud storage comes at $2.99/month and 2TB of storage comes at $9.99/month. Flickr Flickr has a free plan for their users in which users can unlock 1000 photos with some specific guidelines. The photos file must be within 200MB and videos should be under 1GB. Anyone who wants to get more benefits from Flickr services can spend $6.99/month and $59.99/year to get unlimited storage and no ads. Deviantart Indeed, Deviantart is the biggest art community. Users can find a huge variety of visual artists and their phenomenal arts. Any user can visit and view the art gallery of an artist that is divided into several categories, such as animation, traditional, and many more. Deviantart membership doesn’t have any special restrictions for their users. It allows everyone to upload their art for the public to view. There’s a special Deviantart (DA) community for popular artists, arts, and art lovers. There are additional features for core members that cost $3.95/month and 39.95/year. Photobucket Photobucket provides a limited free plan to its users. It allows its users to upload only 250 photos for free. However, if anyone wants to explore Photobucket more, they can start its beginning plan that starts with $5.99/month and $64.68/year. It offers 25GB storage to use with no ads and a photo editor. Amazon Photos Amazon offers several services to its Prime members that include free shipping, early offers, music & video streaming, unlimited photo storage, and many more things. All these things cost $119/year. The great thing about unlimited storage is that five family members or friends can access it through the Family Vault feature. Every member that is connected to the vault can access the vault images and videos. There is a huge variety of storage plans that starts at $1.99/month. Conclusion As per the details, it is clear that several companies offer cloud services to store photos and videos. Every company has different policies and costs to get additional benefits. However, if anyone only wants a spare cloud space to store their photos and videos, then Google Photos and iCloud Drive are some of the best options. I’m Edward Lewis. I’m an art director living in 737 Northcrest Shopping Center, Fort Wayne, IN 46805, United States. I am a fan of photography, technology, and design. I’m also Online Marketing Expert with 3 years of extensive and rich experience of Marketing through Social Networking Platforms. Source : https://potterhenry.wordpress.com/2021/04/24/how-to-choose-the-best-photo-storage-service/  Listening to music can help a person in several different ways. Music streaming platforms like Spotify, YouTube Music, Apple Music, and more offer various features and audio quality. Some of the music streaming platforms are just unique and offer the fantastic quality of streaming audio sound. It depends on whether the platform you’re using is paid or not, while some provide great audio sound even in free sessions.
Indeed, music streaming platforms don’t charge too much, but they are people who don’t find it worth paying for streaming music. Audio quality mainly depends on its audio formats, and high-quality audio formats are MP3 320 kbps and AAC. As the sound format upgrades, the audio and sound quality improves. To get better sound quality, a user must be aware of the sound quality they are hearing, and it’s not up to the mark, so they try to improve it. If you also wish to enhance your music streaming app’s sound quality, you can check and process it to get a better experience. Well, you can improve the sound quality on your streaming app, but it varies by app. Qobuz Qobuz is a fantastic music streaming platform, and recently, they planned to take their studio quality to FLAC format that encoded at 24-bit. With this significant improvement, they’re planning to set the subscription plan to $15/month. Qobuz’s mobile app and desktop and web version available that users can log in with a single account to stream music. A few weeks ago, Qobuz announced their partnership with Sonos for other audiophiles to choose from. You might be unaware of it, but Qobuz is the first music streaming platform to provide a 24-bit format over the Sonos system. This new higher audio format won’t make enough difference while hearing on headphones but will rock when listening on a speaker. This partnership of Qobuz with Sonos makes a huge difference, and people who haven’t used it should give it a chance. Tidal Tidal is offering fantastic sound quality from the beginning, but if you wish to take it to another level, you can pay $20/month to experience 16-bit with 44.1 kHz music. There’s also a separate selection of master-quality music albums that are 24-bit and up to 192 kHz and can be included in the Tidal Hi-Fi service. Tidal’s basic subscription costs $10/month, which offers 320 kbps as the highest music quality. Tidal has partnerships with plenty of speaker manufacturers to make sure the user can enjoy and experience high-quality music from a distance through their mobile app. Companies like Astell & Kern, Naim, Denom, Cambridge, Bluesound, and many more have partnerships with Tidal and are signed up. Amazon Music Amazon Music also has some great music streaming bundles from free to high-quality music. Its Amazon Music HD matches Tidal in terms of encoded 16-bit / 44 kHz and a small music subsection of 24-bit/ 192 kHz. Even if you have subscribed to Prime for $15, it will additionally cost you $13/month. You can play 24-bit music quality on your desktop mobile and several speakers including, Echo Link, Echo Amp. and Echo Studio. If you prefer to go with the Amazon ecosystem, you can experience high-quality music over all devices. Spotify Spotify’s $10 mobile app or desktop version can stream music up to 320 kbps. Open your Spotify app and move into the Settings. Check the audio quality to ensure you’re streaming the highest quality music. However, if you choose to use the Automatic music quality, the bit rate will be adjusted as per your internet connection. Users that are not paying for streaming music on Spotify will listen to music at 160 kbps. Spotify is also planning to launch their Spotify Hi-Fi music service for better streaming with an additional fee. Deezer The biggest reason to go with Deezer is to go with its Hi-Fi plan that offers 16-bit and 44.1 kHz FLAC sound quality for just $15/month. There’s also a basic plan that costs $10/month and provides 320 kbps sound quality. Well, if you don’t wish to pay on Deezer, you can still enjoy streaming music on 128 kbps. Apple Music Apple doesn’t really reveal the bit rate of the songs they have on Apple Music, it’s more likely to be AAC 256 kbps. Apple focuses a lot on music quality, and that’s why they have the best quality songs on iTunes and Apple Music. Conclusion Each music streaming platform has a different paid plan, and sound quality is also based on it. Apps like Spotify, Apple Music, and Tidal don’t offer amazing music quality by default and have a simple interface that helps to easily understand the platform. I’m Edward Lewis. I’m an art director living in 737 Northcrest Shopping Center, Fort Wayne, IN 46805, United States. I am a fan of photography, technology, and design. canon.com/ijsetup, I’m also Online Marketing Expert with 3 years of extensive and rich experience of Marketing through Social Networking Platforms. Source : Best Music Streaming Experience by Improving Audio Quality |
AuthorWrite something about yourself. No need to be fancy, just an overview. Archives
August 2021
Categories |
 RSS Feed
